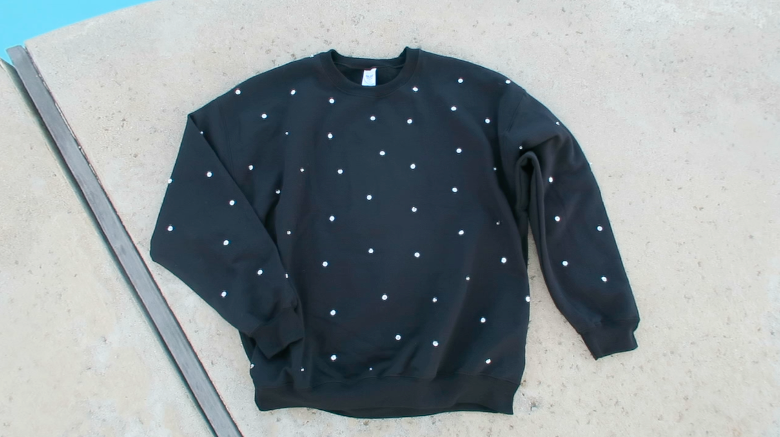
DIY Sequin Sparkle Sweatshirt
*This post contains affiliate links. See my disclosure about affiliate links here.
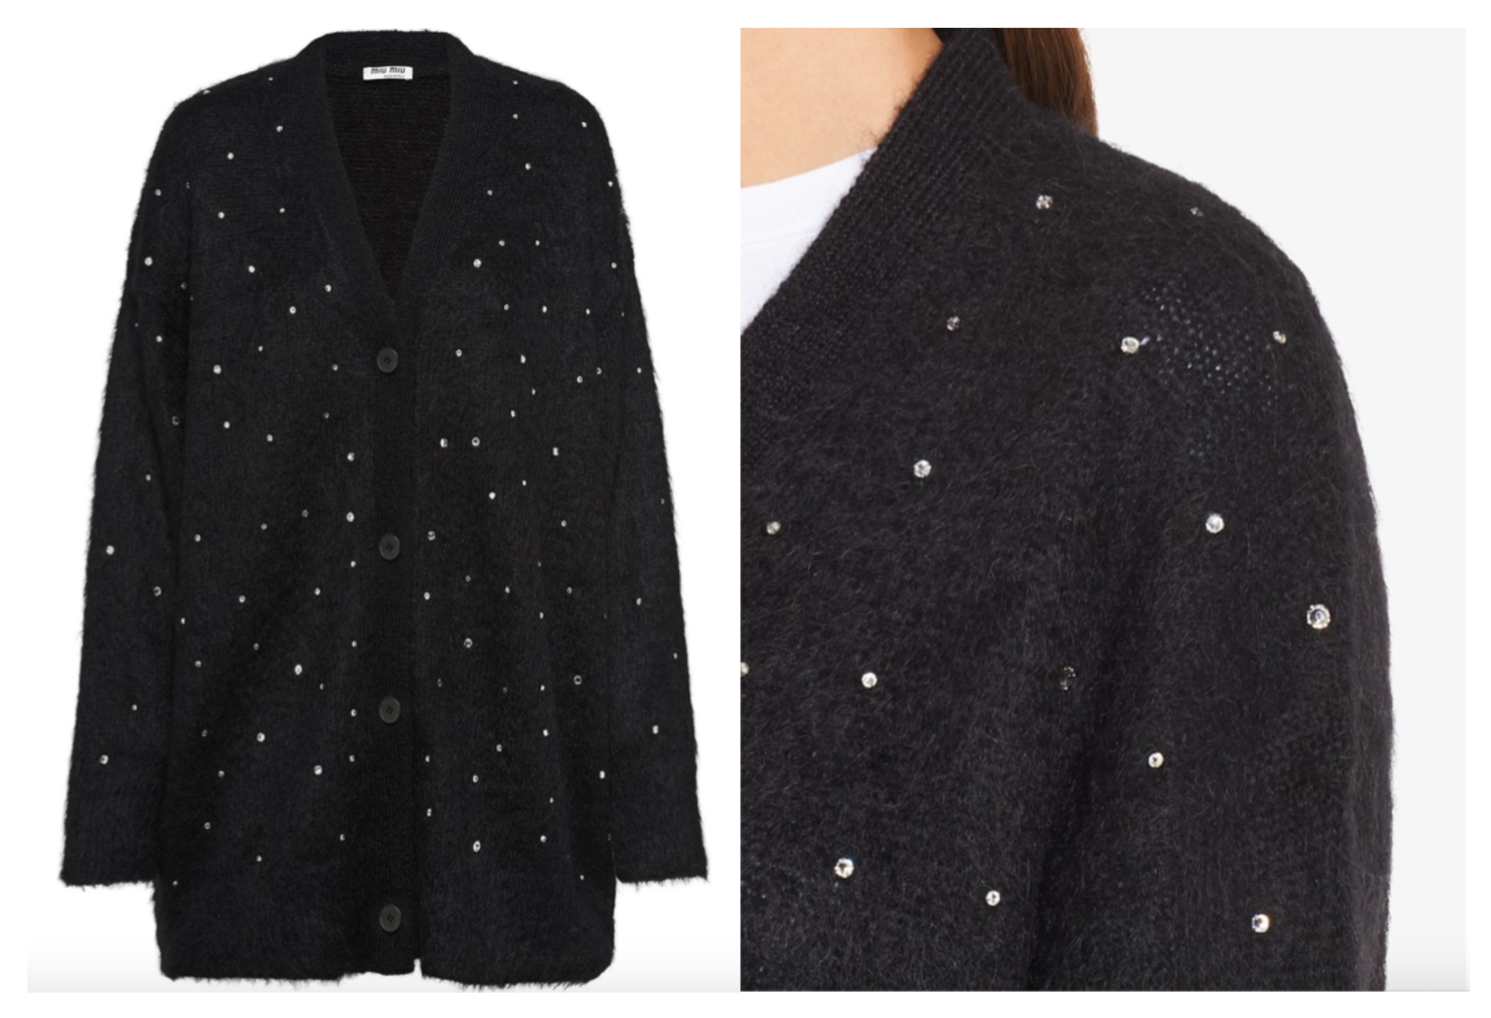
One day at work, a girl came into the store wearing the cutest oversized sweatshirt embellished with a spray of sequins. The label on the back said Miu Miu— clearly out of my price range. But it looked like something I could recreate myself! I couldn’t find a picture of the exact version I saw, but the sweater below is super close. I made mine in just a couple of hours for under $25!
You will need:
a plain oversized crew-neck sweatshirt
Sequins (I used silver)
Seed beads (just make sure they are larger than the hole in your sequins. I chose clear beads!)
Chalk
Needle and Thread
Scissors
*affiliate links
Instructions:
First, lay out your sweatshirt and use the chalk to mark the spots where you want to put your sequins. I just kind of eyeballed it, spacing everything randomly about 3 inches apart. I tried to stagger my spots so that they didn’t make rows and looked more scattered. Make the chalk marks all across the front, back, and sleeves. Hold your sweater up and make sure your marks are where you want them and that they fill the whole sweatshirt. Double check the places where the fabric folds from front to back, like the sides and sleeves, so that the spacing will still look right when the sweatshirt is being worn. Fill in, erase, or re-mark any spots you need to.
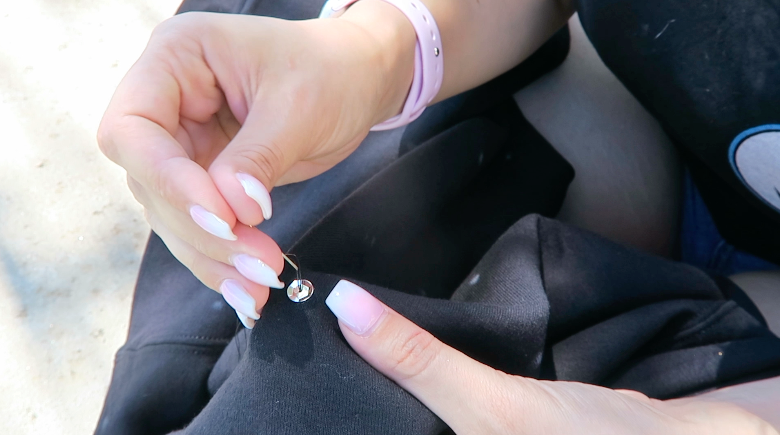
Next, thread your needle and get to sewing. I told you this project is SO easy. Pick a chalk dot and come up through the inside of the sweatshirt, so that the knotted thread is on the back side. String on a sequin (I did them all so that they were cupped outward and facing the same way), then a bead, and push them all the way down the thread onto your sweatshirt. Then, poke your needle back through the sequin (not through the bead again), and securely tie your thread off on the inside.
Repeat until you’ve covered all of your chalk marks. I used a pretty long strand of thread and sewed a whole bunch of sequins, tying off between each one, and rethreaded my needle whenever I ran out of thread.
Once your last bit of thread is knotted, you are done and ready to wear your new top! I love oversized sweatshirts tucked in the front of denim pants or shorts, or worn loose over leggings.
Leave a comment and let me know if you liked this DIY project and want to see more like it. If you try this project, please tag me on social media or send me an email! I would love to see how yours turns out and how you decide to style it!
And if you prefer to watch, here’s my video tutorial on Youtube:
Thank you for supporting my blog by shopping through my affiliate links. An affiliate link means I may earn advertising or referral fees if you purchase through my link, without any extra cost to you. For more information, see my full disclosure here.


